3.1. Workflow 
“But anyone who has experienced flow knows that the deep enjoyment it provides requires an equal degree of disciplined concentration.” -― Mihaly Csikszentmihalyi
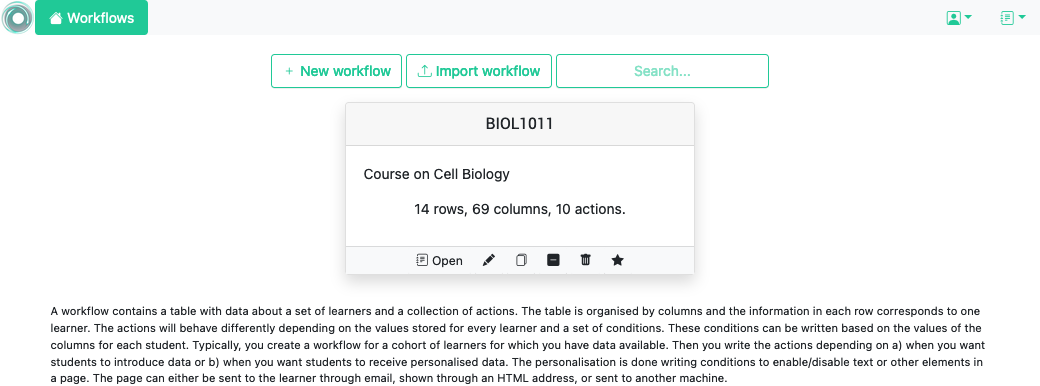
After logging into OnTask, the platform shows the buttons to create or import a workflow as well as those already available to the user as shown in the following figure.
Tip
Going back
The Workflows link at the left corner of the top menu closes the workflow being manipulated and shows you the list of available workflows. The workflow is also unlocked so that it can be accessed by those users sharing its access.
The navigation through the platform is done using the links in the top menu bar. The Workflows icon in the left side of the menu brings the user back to the page showing the available workflows. The book icon in the upper right side of the menu bar opens the documentation page, and the user icon provides access to the user profile (name, last name, bio, password and authentication tokens).
The home page offers the following operations:
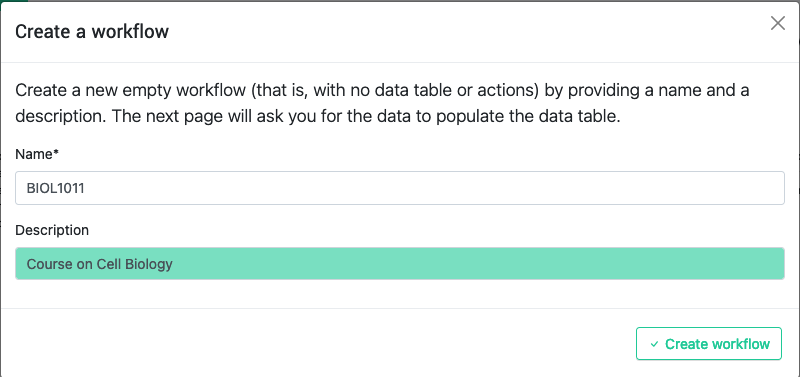
- New workflow
-
Opens a dialog to set the name and description of a new workflow and then show the page to upload data in the table.
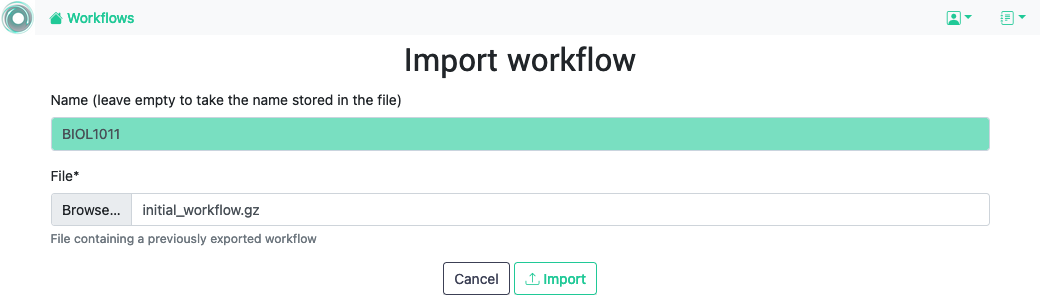
- Import workflow
-
Opens a dialog requesting a workflow name and a file containing a previously exported OnTask workflow as shown in the following figure:
This page also shows those workflows previously created by the user. Each workflow is shown as depicted in the following figure.
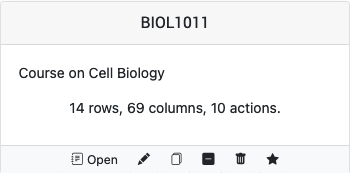
The icons in the bottom of this element allow you to perform the following operations:
- Open the workflow
-
Selects the workflow for further manipulation. Once selected, workflow name is shown under the top navigation bar as illustrated in the following figure.

- Change name or description
-
Changes the name of the description given to the workflow.
- Create a duplicate
-
Creates a duplicate or exact copy of the workflow with the prefix Copy_of_ added to the workflow name.
- Delete all data
-
Deletes all data and actions stored in the workflow (turns it into an empty workflow with just the name and the description).
- Delete the workflow
-
Delete the workflow from the system.
- Mark as favourite
-
Mark the workflow as favourite to be shown at the top of the screen.
When a workflow is open, the top-bar menu appears with the structure shown in the following figure.

The menu contains the following links:
- Workflows
-
Link back to the home page showing the workflows available for manipulation.
- Actions
-
Create, edit and execute actions.
- Table
-
Operations to visualize and manipulate the table (search for values, add a row, add a column)
- More
-
Additional operations to view:
- Workflow operations
-
This page contains links to export, rename, clone, flush the data, or delete the workflow. It also allows you to manipulate a set of attributes, and add users to share the workflow.
- Column operations
-
This page shows information about the columns in the workflow.
- Scheduled operations
-
Shows which actions have been scheduled for execution.
- View logs
-
A table showing the history of operations performed on this workflow
- User profile
-
Link to the user profile and logout
- Manual & API documentation
-
Link to the OnTask manual (this document) and the API documentation
Once you open a workflow, the platform locks it so that no other user can manipulate it (see sharing a workflow ). The lock is released navigating back to the home page, logging out, or the session expires after lack of activity. If you access a workflow and another user is currently using it, the platform will tell you that is locked and show who is holding the lock.