The Workflow
“But anyone who has experienced flow knows that the deep enjoyment it provides requires an equal degree of disciplined concentration.” -― Mihaly Csikszentmihalyi
The workflow in OnTask is simply a container that brings together the table, the operations to upload the data, and the actions to create the personalised content. The initial screen in OnTask shows the available workflows as shown in the following figure.
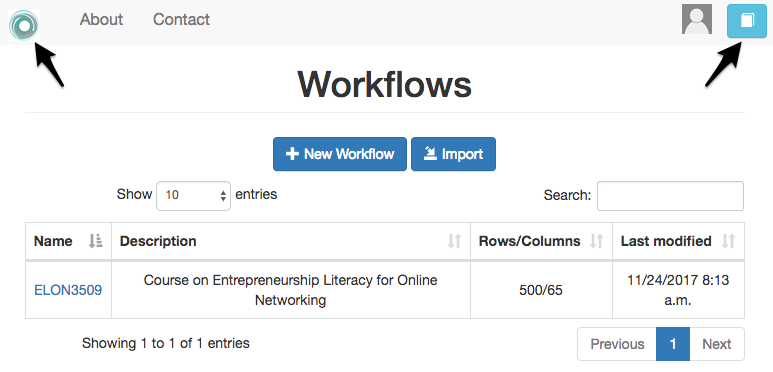
Clicking in the OnTask icon in the upper left corner brings you back to the list of workflows from any page in the application. Clicking in the icon in the upper right corner opens the documentation page.
The screen includes three operations:
- Create a new workflow: Clicking in the New Workflow button will ask you for the name and description of the element.
Importing a file containing a previously exported workflow. Clicking in the Import button will ask you for the new for the new workflow, the file and will let you choose to import only the data, or the data and the actions as shown in the following figure

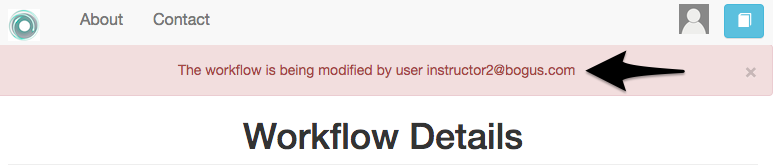
Open a workflow to work on it. This is perhaps the most common initial step. Once you open or enter a workflow, all the operations are applied to that context. The platform will remind you in which workflow you are working by inserting its name right under the top navigation bar as shown in the following figure.

Once you open a workflow, it is locked and no other user can manipulate it (see sharing a workflow). If access a workflow and another user is currently working with it, the platform will not allow you to see the data and will instead tell you who is holding the lock.
The operations to manage a workflow all become visible once you select it by clicking on its name.